Hey there, fellow hair enthusiasts! If you’re here because you’re intrigued by the mullet haircut—that legendary “business in front, party in the back” vibe that’s making a massive comeback—then buckle up. As a professional barber with over 13 years slinging clippers in bustling shops from LA to NYC, I’ve cut countless mullets, from classic throwbacks to sleek modern twists. Trust me, nothing beats the satisfaction of transforming a client’s look into something edgy and confident. Whether you’re a DIY daredevil or prepping for your next salon visit, this guide covers everything: types, styles, tools, steps, and tips to avoid looking like you stepped out of a bad ’80s flick.
Key Takeaways on Cutting a Mullet
- The Basics: A mullet is short on the top and sides, longer in the back. It’s versatile for all hair types—straight, wavy, curly—and face shapes, but shines on oval or square faces for that balanced edge.
- Why It’s Trending: From pandemic home haircuts to celebrity revivals, the mullet screams individuality. Research suggests it’s a low-maintenance rebel style, but hedge your bets: if you’re unsure, start subtle to avoid regrets.
- Pros and Cons: Pros include easy styling and bold personality; cons involve potential uneven growth or over-trimming. It seems likely that with practice, anyone can nail it, though evidence leans toward consulting a pro for fades.
- Quick Tips: Grow hair 2-6 inches overall first. Use quality tools. Trim every 4-6 weeks. Controversy alert: some call it outdated, but modern versions prove it’s timeless and adaptable for all.

Essential Tools You’ll Need
Gather these before diving in—I’ve learned the hard way that skimping on gear leads to wonky results:
- Clippers with guards (#1 to #4 for fades).
- Scissors for layering and texturising.
- Comb and sectioning clips.
- Razor or trimmer for cleanups.
- Spray bottle for dampening hair. Pro tip: Invest in ergonomic ones; your hands will thank you after a self-haircut session.
The Step-by-Step Guide: How to Cut a Modern Mullet
For this tutorial, I’ll walk you through the most requested style: the modern mullet with a fade. This technique requires patience, so take your time.
Step 1: The Consultation and Prep Work
“So, talk to me. What are we thinking?” This is the most important step. Discuss length, fade height, and how drastic the client wants the transition. Once decided, wash the hair and towel-dry it so it’s damp. Comb out all tangles.
Step 2: Crafting the Fade
This is where we build the foundation.
-
Outline Your Fade: Using your clippers without a guard, define the very bottom of your fade line around the temples and back of the head.
-
Build the Fade Upwards: Start with your #1 guard and work upwards, flicking the clippers out to blend. Switch to a #2 guard and repeat the process above the first section, then a #3 guard even higher. The goal is a smooth gradient effect from skin to longer hair.
-
Blend, Blend, Blend: Use the corner of your clipper blades to meticulously blend any harsh lines. This is what separates a good fade from a great one.
Step 3: Cutting the Top and Front
-
Section Hair: Isolate the top section of hair from the crown to the forehead.
-
Determine Length: How long does your client want the top? Use your fingers as a guide and cut with your shears to the desired length. For a textured look, use point cutting instead of a blunt chop.
-
Style the Frontal Section: This is the “business” part. Keep it cleaner and more styled, whether it’s a messy fringe or a slicked-back look.
Step 4: Defining the “Party in the Back”
This is the star of the show.
-
Isolate the Back Section: Comb all the hair from the crown down.
-
Create the Shape: The classic mullet shape is longer in the centre and shorter towards the sides, almost like a triangle. Point cut downwards, following the natural curvature of the head. Don’t just cut straight across!
-
Blend the Crown: This is the trickiest part. You need to connect the longer top to the even longer back. Use your thinning shears to carefully layer and blend the hair at the crown, creating a seamless flow from the top of the head to the ends of the mullet tail.
Step 5: The Finishing Touches & Styling
-
Dry the Hair: Use a blow dryer to see the true shape of your cut.
-
Clean Up Details: Use your trimmers to clean up the hairline, around the ears (ear design is popular now), and the neckline. A sharp neckline elevates the entire cut.
-
Style It: Apply a texturising spray or a matte pomade to add definition, separation, and that perfectly messy, lived-in feel. For a glossier look, a strong-hold gel works on the back.
Know Your Style: Types of Mullet Cuts
Not all mullets are created equal. Picking your style is the first step. Here are the most popular mullet variations I get asked for in my shop:
-
The Classic Mullet: Think 1980s rock n’ roll. Shorter top and sides with a clear, blunt disconnect to the long back. It’s bold, it’s proud.
-
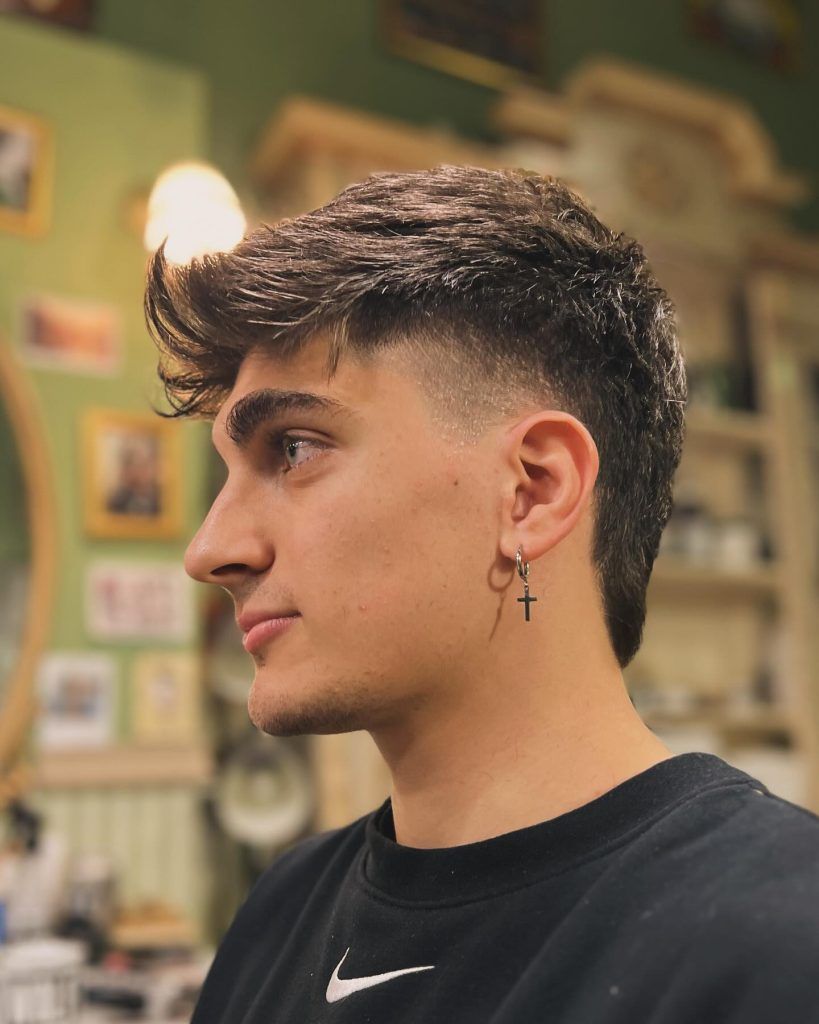
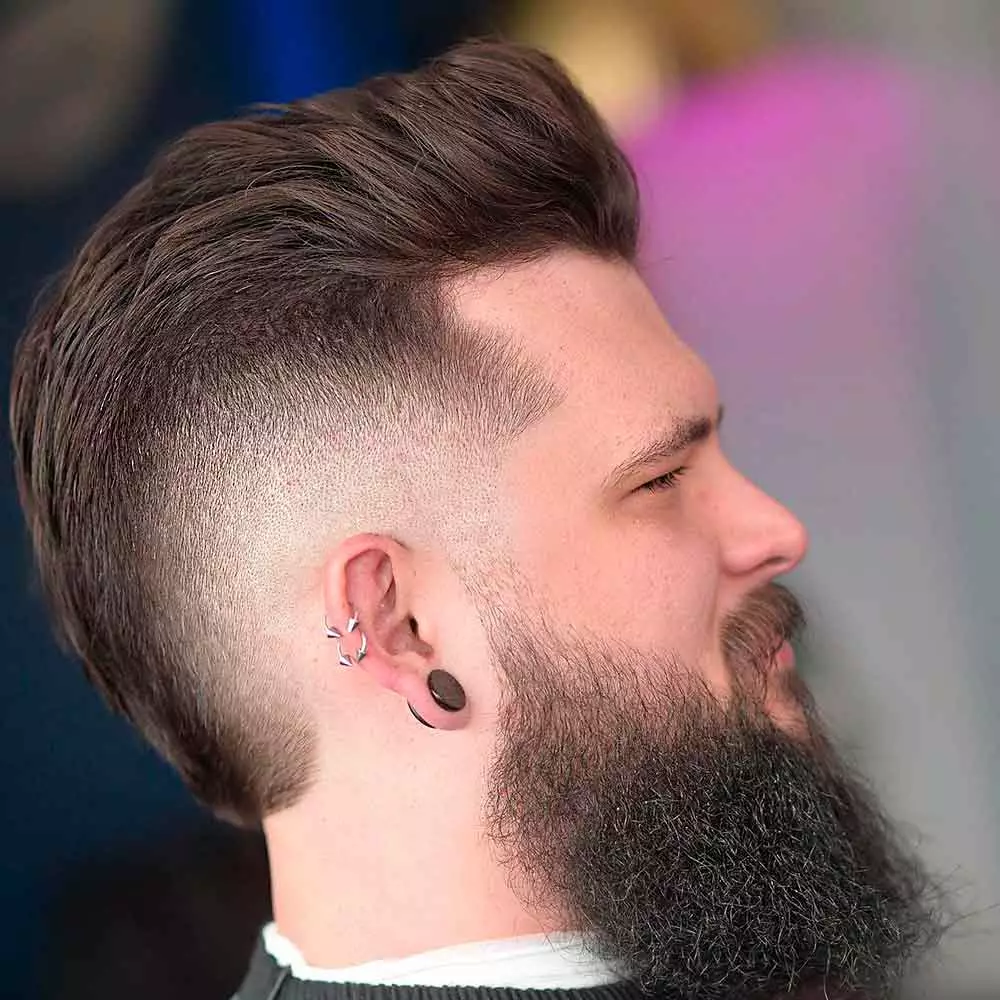
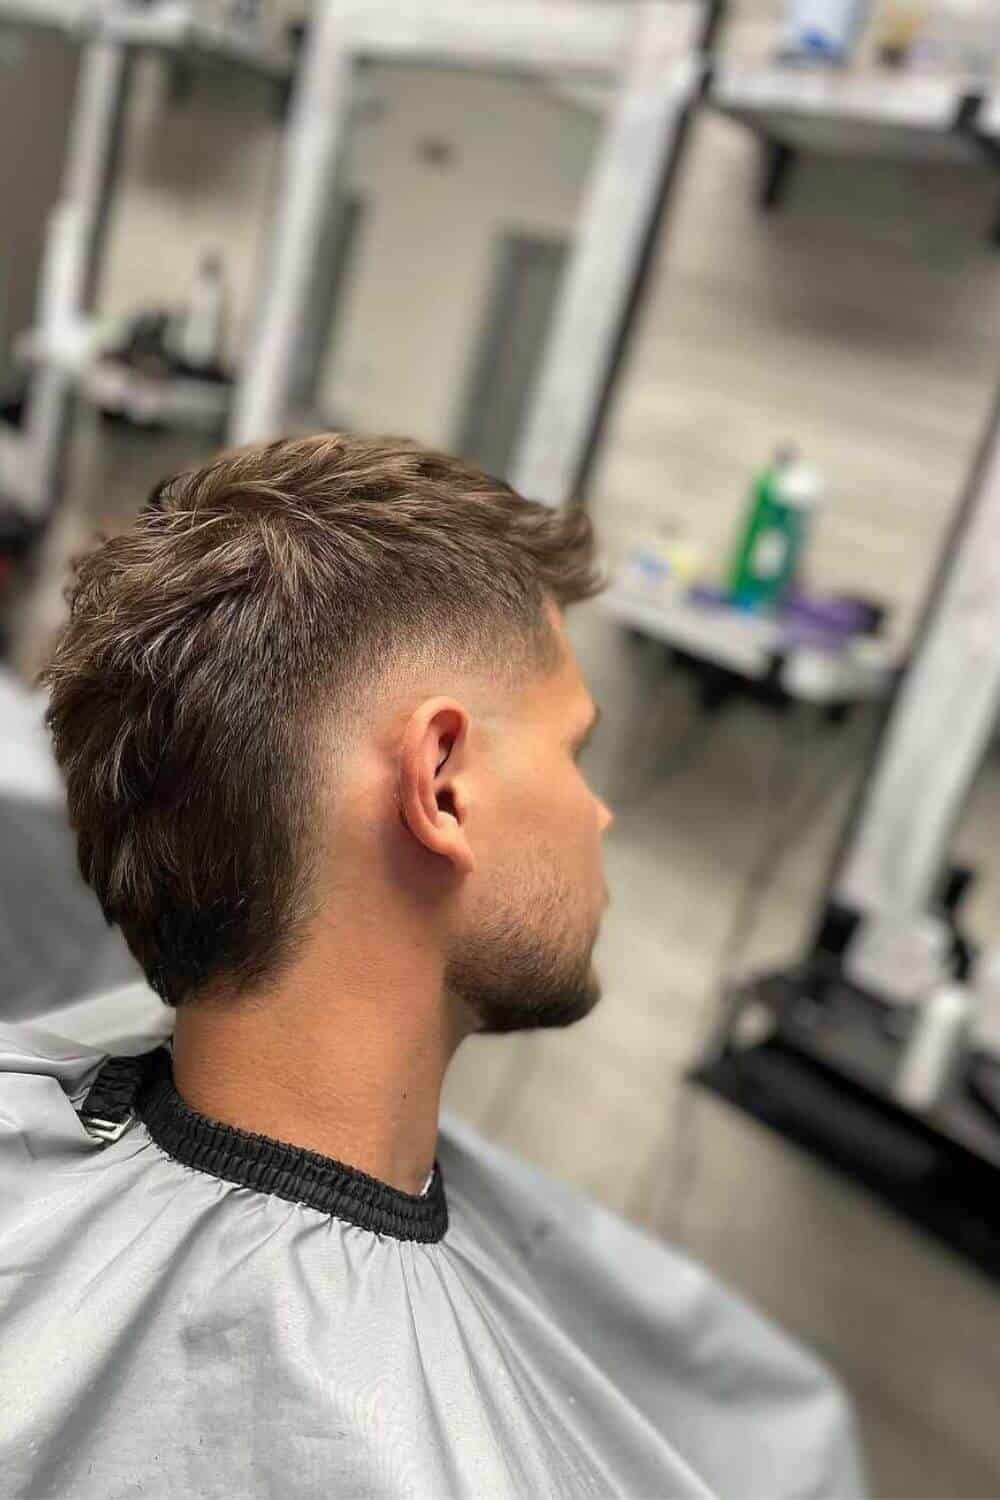
The Modern Mullet (aka The Mullet Fade): This is the crowd-pleaser. It features a skin fade or taper on the sides that seamlessly blends into a longer, textured top and back. It’s sophisticated yet edgy.
-
The Mini Mullet: A less dramatic, more wearable version. The back is kept shorter, sitting just at the collar, perfect for testing the mullet waters.
-
The Mullet Shag: This messy, textured beauty uses lots of layers and point cutting. It’s a fantastic mullet for curly hair or wavy hair, embracing natural volume and movement.
-
The Extreme Mullet: For the truly committed. We’re talking maximum length in the back, often with undercut sides for a stark contrast. It’s a true statement piece.
| Type | Description | Best For | Example Celeb |
|---|---|---|---|
| Classic Mullet | Short top/sides, long straight back | Bold statements | Billy Ray Cyrus |
| Modern Mullet | Textured top, faded sides | Everyday versatility | Miley Cyrus |
| Curly Mullet | Embraces natural curls in the back | Wavy/curly hair | David Bowie (Ziggy era) |
| Burst Fade Mullet | Explosive fade around the ears | Edgy, youthful | Patrick Swayze vibes |
| Shaggy Mullet | Layered, tousled throughout | Casual, low-effort | Joan Jett influence |
Maintenance and Styling Hacks
- Wash 2-3 times weekly with dry shampoo in between.
- Use sea salt spray for texture or matte paste for hold.
- Trim fades monthly to keep it sharp. If it grows unevenly, it might feel frustrating, but patience pays off.
Final Thoughts
Cutting a mullet is both an art and a technique. Whether you go classic, modern, curly, or wolf cut, the key lies in balancing structure with flow. Done right, the mullet is one of the most versatile men’s hairstyles today.
FAQs: Your Mullet Questions, Answered
Q: What face shape suits a mullet best?
A: Honestly, any! It’s all about customisation. Oval and square faces can pull off almost any style. For round faces, a higher fade adds length. For longer faces, keeping some weight on the sides balances it out.
Q: Can you cut a mullet on curly hair?
A: Absolutely! In fact, a curly mullet is one of my favourite cuts to do. The texture adds incredible volume and personality. The technique focuses more on shaping and layering than on a sharp fade.
Q: How do I explain this to my barber without sounding bad?
A: Bring pictures! Seriously, it’s the best way. Show them a few examples of the mullet style you like. Point out the fade height, the length in the back, and the overall shape.

Alax, the mind behind hairecho.com, has spent 13+ years perfecting the art of hairstyling for both men and women. As a skilled barber and stylist, he crafts precise fades, clean cuts, and textured styles for men while creating flattering, versatile women’s cuts that enhance natural hair texture. Alax’s commitment to staying ahead of trends while delivering timeless, confidence-boosting results has made him a trusted figure in the modern grooming and hair community.

